Ynet.dev
This is an integrated full-stack development framework for HTML5 network applications — particularly games and tools — powered by Node.js. Ynet spans multiple domains: from UI and styling to logic, networking, and real-time rendering, covering — and often surpassing — what frameworks like React, Angular, Tailwind, Bootstrap, and Unity offer individually.
Ynet internally handles dynamic loading of code modules (aka. JavaScript streaming), which also allows live code updates (aka. runtime code injection), speculative module fetching and seamless resuming after re-connection (without reloading any code, aka. lazy execution). Finally the included transpiler offers some QOL features such as JS and CSS syntactic sugar, a simplified HTML syntax and custom language constructs (check below).
Latest release: 1.26.6 (major.y.m)
Project by Alexander "Fox" Kaeser aka. Yhoko (ynet@yhoko.com).
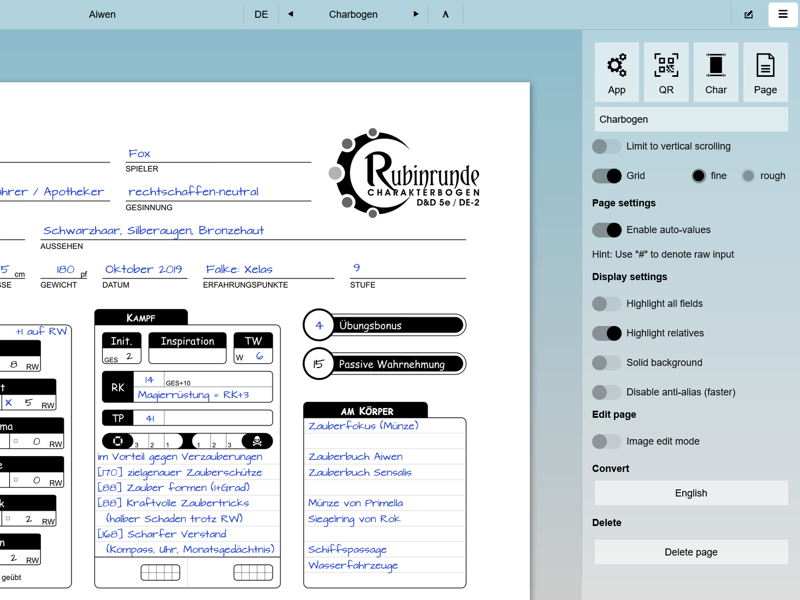
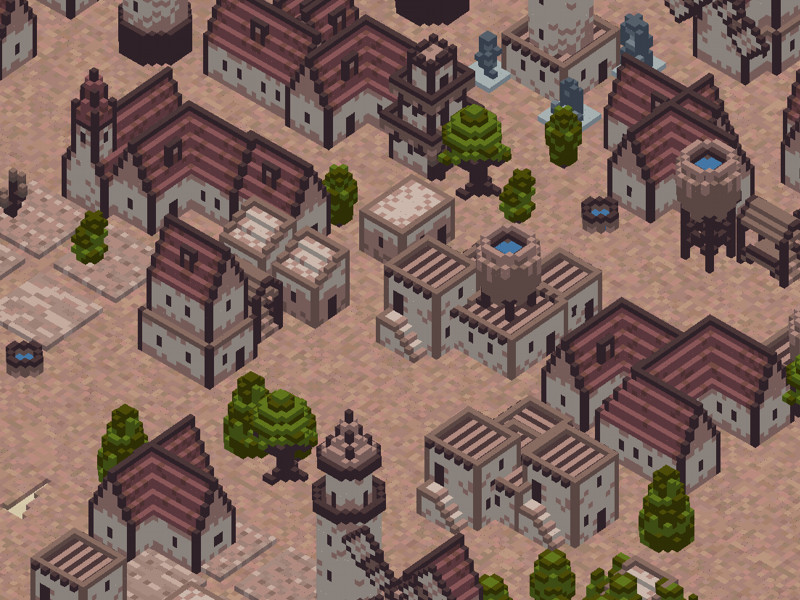
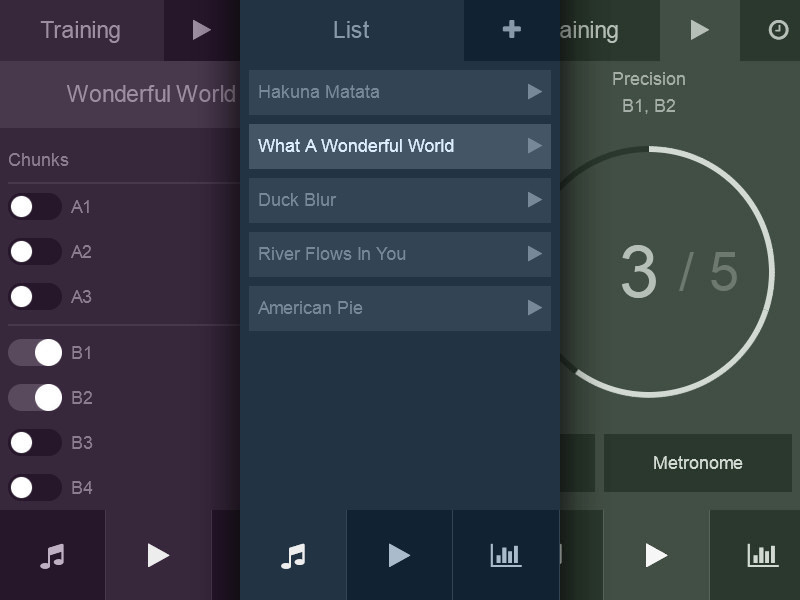
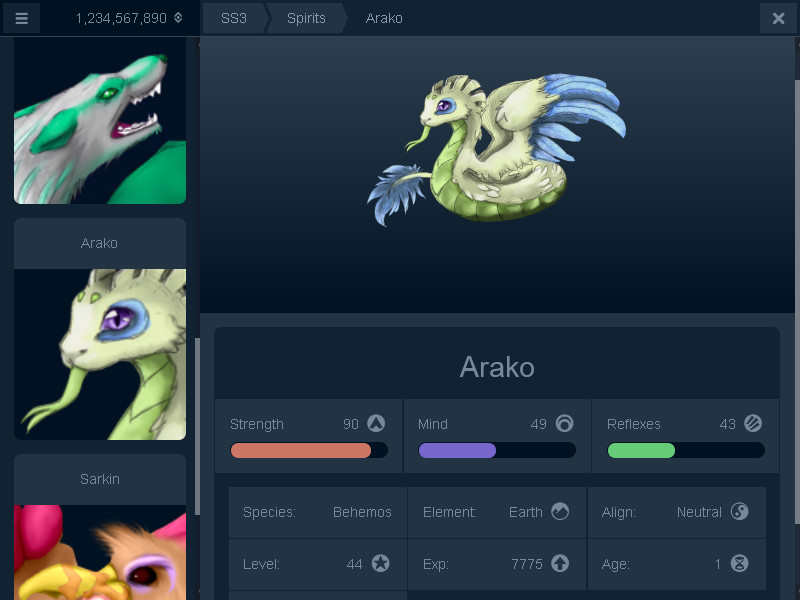
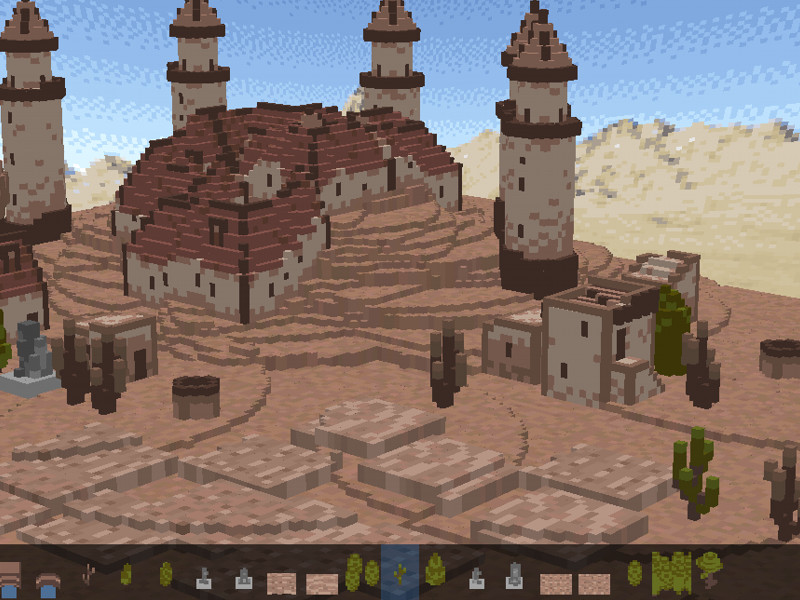
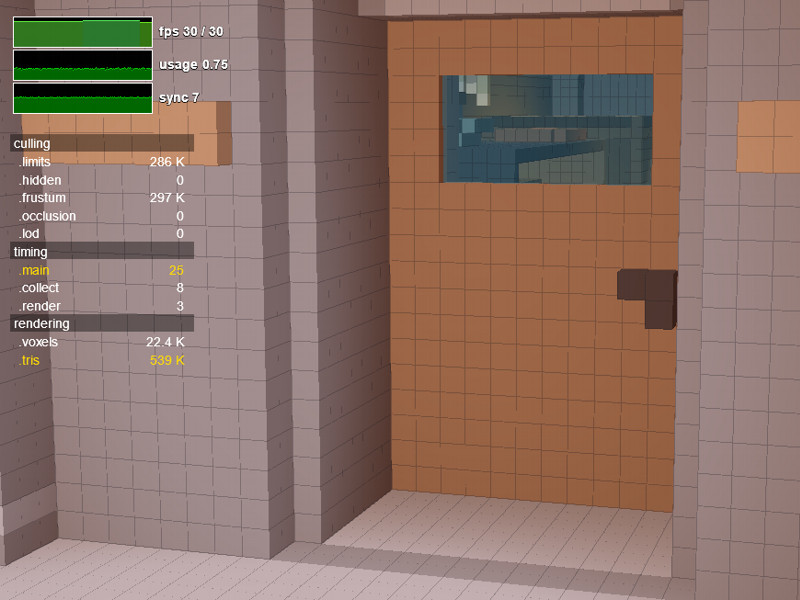
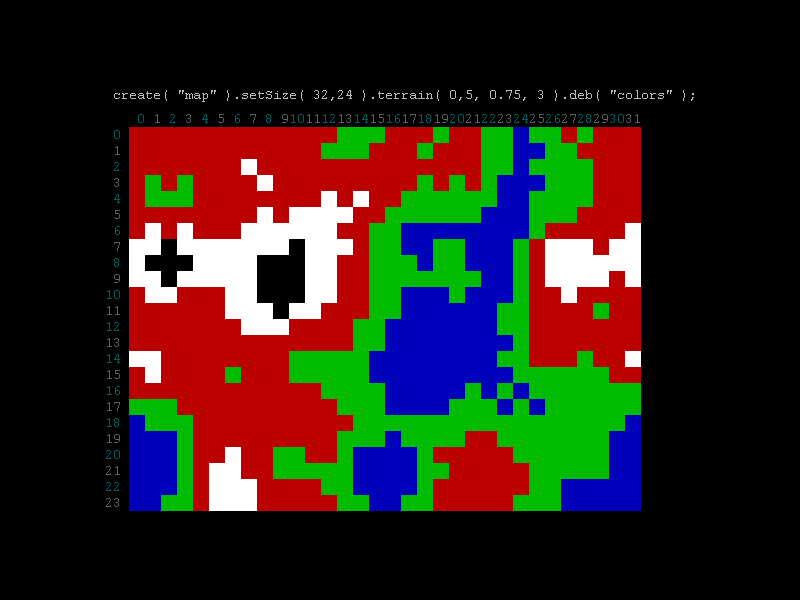
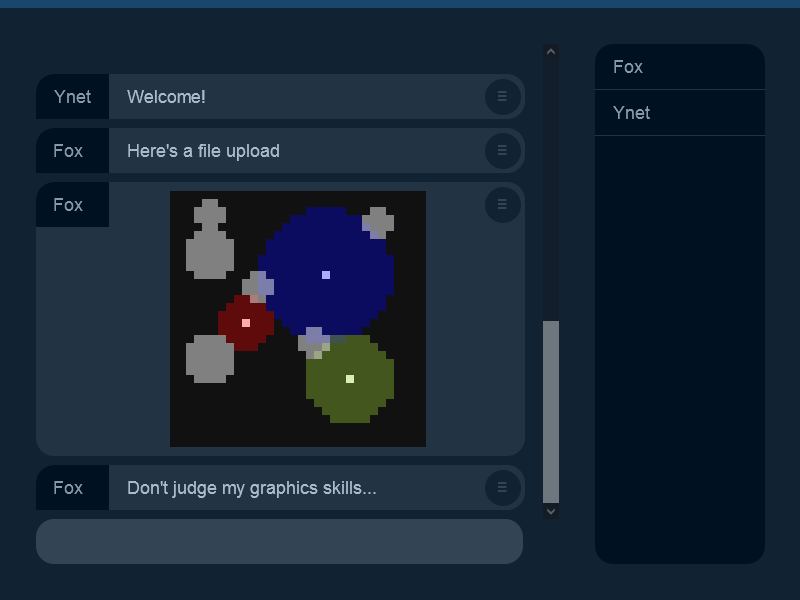
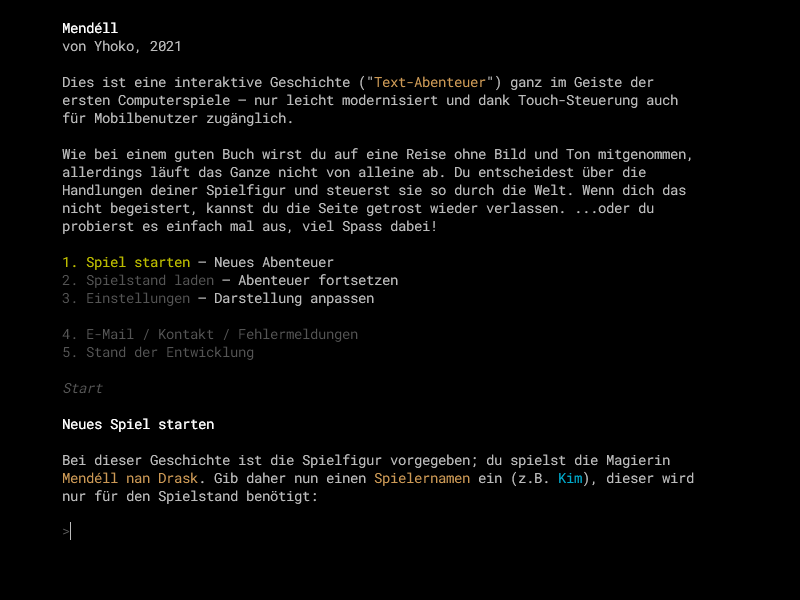
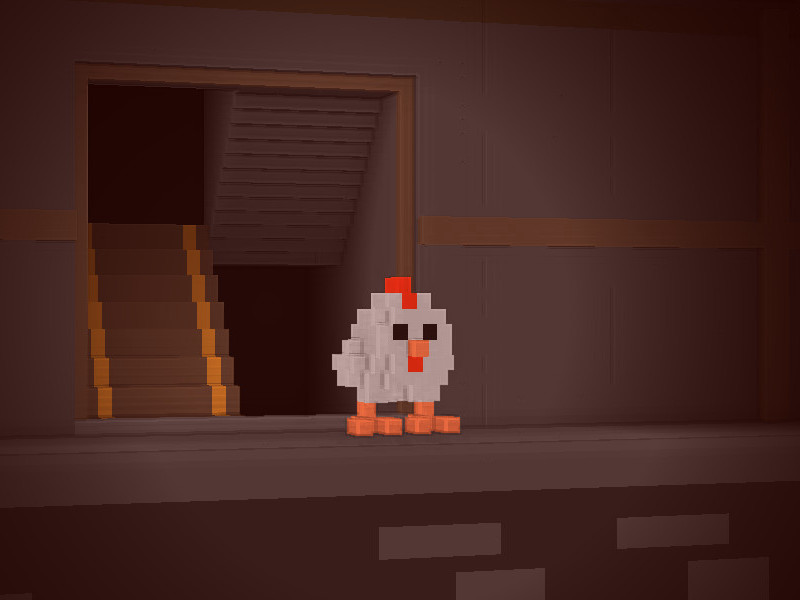
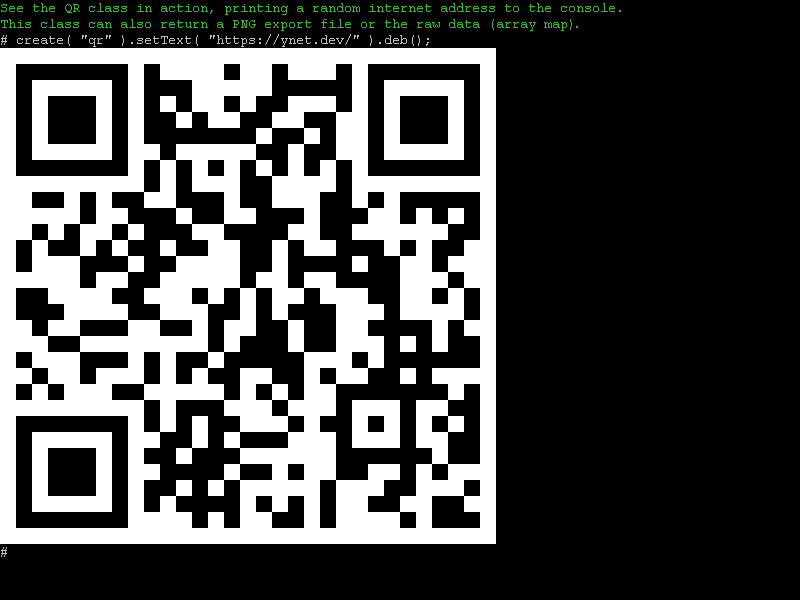
Screenshots
Here are some random screenshots from various projects:
![]()
Capabilities
- built-in debug console, supporting colored output
- class inheritation / class plugin system
- meaningful typeOf(var) where null = "null" and [] = "array"
- parameter data types and defaults; function( int value = 42 )
- working focus/blur events as expected (ignores children hopping)
- focus containers even allow multiple focussed elements
- compact HTML tree notation
- custom complex HTML elements (including built-in switch, ring bar, QR-scanner, etc.)
- query and manipulate HTML elements, classes, attributes, etc.
- easy interface events (supporting click/tap/hold/drag & drop)
- multi-path navigation (handle app, login, console, etc. separately)
- built-in authentication (Passkey / FIDO2, device / cookie, password, e-mail, QR code)
- session handler (database or memory)
- resource loader / progress display
- easy Json() function (converts both ways, can handle null and empty strings)
- handy geometry functions, curves/slopes/splines, vectors and matrix classes
- n-dimensional typed arrays, unlimited 2D/3D maps, bsp/quad/oct trees, heaps
- keyboard, mouse, touch and gamepad support
- SQL database access, including query helpers
- Unicode awareness (eg. byte/number array functions)
- heartbeat providing a stable "main loop" framerate, also fps measuring
- tile maps, including A* path finding, terrain generation and more
- voxel trees for endless worlds, supporting voxel tile maps for quick editing
- 2D/Canvas rendering and drawing utilities, including image effects
- 3D/WebGL rendering with shaders, covering pixels / sprites / polygons / voxels
- importer for ASE (3ds max) and VOX (MagicaVoxel) files
- sound and music playback and effects (eg. crossfading, pitch control, reverb, distort)
- built-in sound sprites (multiple sounds in one file, individual or random playback)
- QR bidirectional data transfer (eg. easy device login by QR code)
...and more.
JS syntactic sugar
The delay( ms ) structure is a shortcut for setTimeout() calls:
delay(
The debounce( ms ) structure holds repeated calls (eg. from keyDown events) and executes only the last call after the given timeout:
$c.core.onKeyDown( code, mask )
{
debounce(
In addition to the timeout, debounce also accepts a name parameter, which allows debouncing different calls as one (eg. show and hide to prevent flickering).
Note: This is fully integrated into the Ynet HTML sugar syntax, eg. <input/text assign="doSearch" debounce> will work as expected.
The measure( name ) structure stores the execution time of a certain code piece:
measure(
The duration will be available in core.stats.render.
The benchmark( num ) structure also measures time, but for multiple iterations:
benchmark(
After 1000 iterations, the execution duration in ms will be printed to the Ynet console.
Easily translate values to strings:
var list = { dog:"bark", cat:"meow", bird:"chirp" };
var fallback = "something";

print( "Cat says " + select( "cat", list, fallback ) );
print( "Fish says " + select( "fish", list, fallback ) );
Prints Cat says meow and Fish says something.
Ynet supports multi-line strings in code:
var list = "/*
Keeping object literal functions short and readable:
load( "file.txt",
{
(find the traditional JS syntax commented out above)
Apply function parameter defaults and require specified data types:
test(
In this function id must be an integer, act a boolean, name a string, text can be a string (defaults to empty string) and opacity is an optional float parameter.
test(
In this function mode must be a string of 8 characters, data must be a string of up to 8 characters and pos must be a string of 4 to 6 lowercase letters.
Alternatively, the triple-slash syntax can be used:
function printText( id, name, message, opacity )
{
In this example id can be any positive integer, name must be a string of exactly 16 lowercase letters, message is a UTF8 string up to 2000 characters length and opacity can be any number from 0 to 100. Failing a test throws an error, providing name, data type, value and expected range of the argument.
Both methods can be mixed.
Quickly print out debug information:
function start()
{
The text Now starting will be printed to the console.
Error handling and tracing:
tryce(
Prints: myEventName, 20, ReferenceError: foo is not defined, and a stack trace.
Simplest counting loops:
for( var a
Prints: 0 1 2 3 4
for( var a
Prints: 4 3 2 1 0
Simple counting loops:
for( var a =
Prints: 2 3 4
for( var a =
Prints: 4 3 2
Stepped counting loops:
for( var a =
Prints: 0 2 4
for( var a =
Prints: 4 2 0
Iterating through array values:
var list = [ "The", "answer", "is", "42" ];
for( list
Prints: The answer is 42
Iterating through array indices and values / also works on Map and map-like objects:
var list = [ "Ynet", ".", "dev" ];
for( list as
Prints: 0 = Ynet 1 = . 2 = dev
Similar to the above, iterating through CSV or space separated strings:
for( csv "a,b,c" as
Prints: a b c and a b c
Shortcut notation for server/client ping pong:
$ui.cmdSend()
{
Alias syntax for often-used functions:
$client.getTile( x,y )
{
The getTile function can now be called through item.get( 0,0 );
HTML elements
Easily create HTML interfaces:
var content = html
( "/*
There are multiple ways to define the id, class and content (eg. p#intro and p id="intro" are equivalent). Some special attributes (such as assign) will be recognized and assigned to the corresponding Ynet UI events. Finally the append() call adds the structure to the HTML
.SVG elements can be accessed through their respective namespace:
html( "
Furthermore $ allows using custom complex HTML elements.
html( "
This creates your everyday "on/off" switch with a sliding bullet.
Radio button groups can be assembled as follows:
html( "
Interacting with the radio buttons will trigger the selectAction event to handle this.value().
Run a CSS animation and hide the element afterwards:
myButton.
Internally this listens for the onanimationend event to perform hide (or run other actions or even custom code).
To prevent class name cluttering, Ynet animations are applied to the ani attribute. They can then be defined using the Ynet CSS syntax, as shown in the following snippet:
button
<button
CSS syntactic sugar
body { color:#000; }
CSS only allows /* block comments */ but Ynet fixes this stupid decision.
div {
Allow scrolling in x, y or xy direction. Translates to a overflow and touch-action setup.
div { display:grid;
Display as table grid with 4 columns (or less), retaining a minimum width of 10em per column.
div { display:grid;
Display as table grid with a column size between 5em and 20%, seperated by a 2px gap.
border-
border-
Border setup for two opposite sides.
if(
if(
Included if the screen width / height matches the condition.
if(
if(
Included if the screen is in landscape / portrait mode.
if(
if(
Included if the primary input is the mouse cursor / touch screen.
button
Ynet automatically applies :hover styles only for mouse cursors.
button
The custom :ui selector applies to :focus and/or :hover, depending on the input device. This makes it easy to apply the same styles for mouse, keyboard, and touch interactions.
CSS variables made simple.
div.fadeOut
{
animation:
CSS inline animation keyframes.
Conditional CSS
To avoid the limited CSS media queries and their weird syntax, Ynet offers custom CSS conditions:
$css(
This style will be included on small windows w < 200, in portrait mode w / h < 1.0 or if the app's sub-domain equals m. Since this is simply evaluated JavaScript code, literally anything can be used, eg. custom variables or function calls. Common variables like w, h, aspect, dark and light are pre-defined and can be used as shown.
GLSL syntactic sugar
For shaders that are similar in WebGL 1 and 2, Ynet tries to convert often-used keywords such as in, out and gl_FragColor to their respective pendants. Furthermore single lines or code blocks can be tagged so Ynet will only include the matching parts:
uniform samplerCube in_sky;
uniform vec3 in_ambient;
This shader will run in both versions and thus allows switching the project between WebGL 1 and 2 any time.
Known issues
- The :ui CSS extension does not yet handle multi-line selectors correctly. Recommended workaround: Use single-line selectors or manually duplicate the code for :hover and :focus-within inside a @media ( pointer:fine ) part (not :focus-visible since browser vendors failed to implement this in the same manner as focus-within).
- The TEFLON discussion adapter does not yet support breaks and other block-level functions within script branches (such as IF or SWITCH). Recommended workaround: Use CALL to split up the code into multiple functions.
- As of Ynet 1.24.5 it is recommended to put all projects inside the /projects/ subfolder. For projects still in root folders the core path must be adjusted in init.js (ie. ../core.js instead of ../../core.js).
Ynet modules
| client | Ynet client (base framework, client-only). |
| core | Ynet core functionality (server and client). |
| html | HTML (creation, manipulation, dragging, language translation). |
| image | Image (creation, manipulation, drawing, color effects) and color class (RGB/CMYK/HSL/Greyscale, alpha channel). |
| audio | Sound effects and music playback (sound sprites, volume/pitch variations, reverb/distortion effects, seamless looping, crossfading, equalizer). |
| login | Account manager (FIDO2, password, e-mail, device / multi-path login including 2FA) and session handler (server only). |
| map | 2D map class for editing (cut/copy/paste areas, insert/delete cols and rows, rotate/scale/flip/blur map, terrain generator) and tile-based games (wrap/endless mode, A* path finding). |
| math | Numerous math and geometry functions, randomization, vector / matrix classes. |
| webgl | WebGL 1 and 2 (shaders, textures, polygons, lights, shadows). |
| voxel | Voxel addon (loader, renderer, shaders). |
| data | Buffers (array_map, growbuffer, heap, ringbuffer) and interpolation (curve, slope, tween) |
| + | Everything else (database, gamepad / keyboard, hashing, heartbeat / fps, resource loader) |
Please note that some modules are never transmitted to the client (db, session, etc.) while others are client-only (html, gamepad, webgl, etc.).
Example: console chat
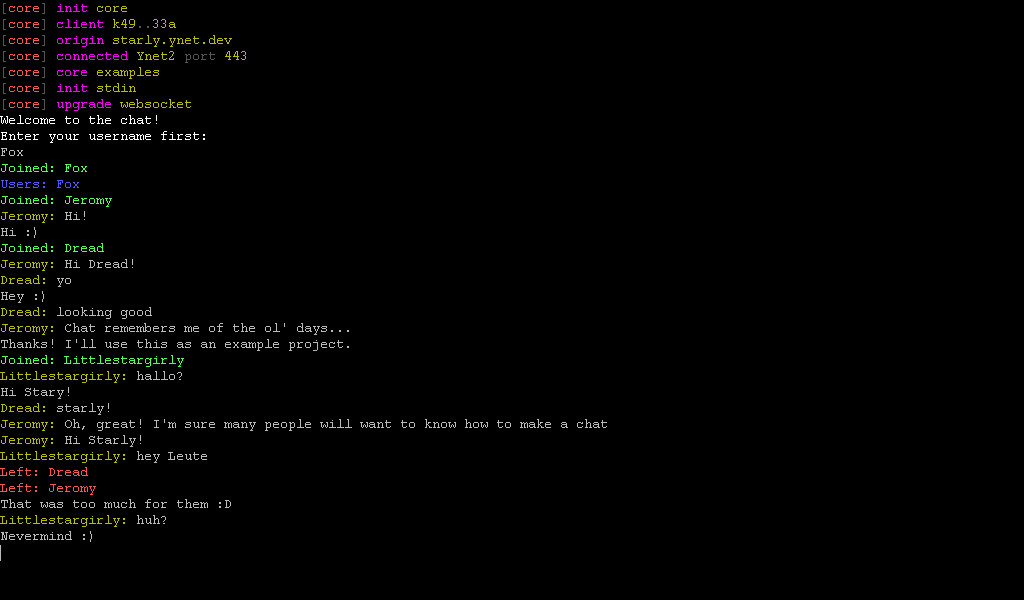
The following code is a complete example running a simple console-based chat. Users can enter a name, get a list of all connected users, get notified when someone joins or leaves, and can broadcast plain text messages. For simplicity, a user counts as logged in if the username property is set (otherwise the user is connected but didn't choose a name yet).
Note that the print event is built-in and text coloring is done through color tags (eg. <lr> means light red). The application is started by running node example/init.js on the server.
example/init.js
example/chat.js
<!DOCTYPE YNET>
Example: HTML checklist
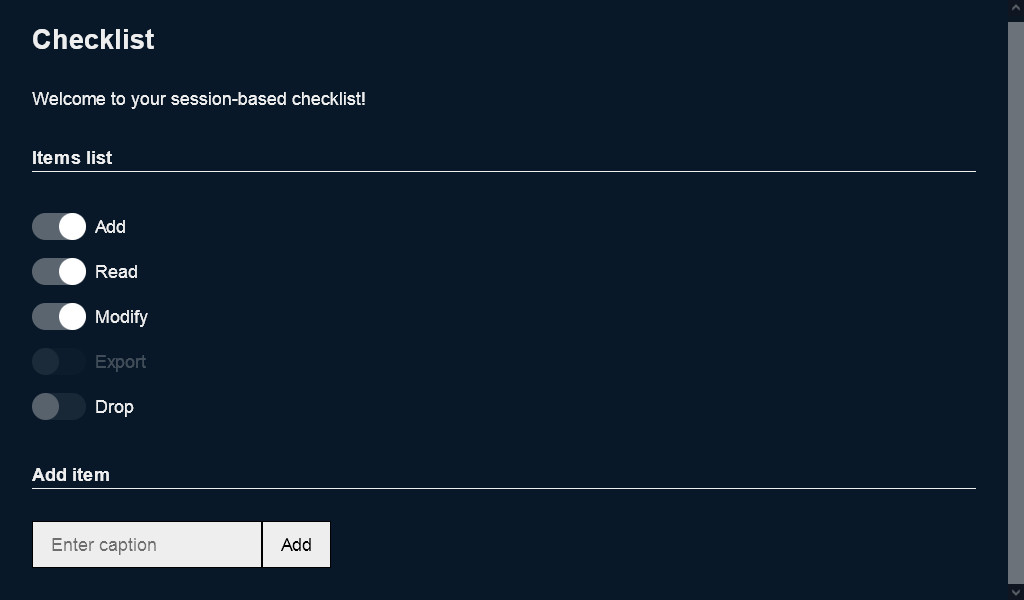
The following code is a complete example running a simple session-based HTML checklist app. Users can add items and mark them as checked or unchecked. Data is stored within the user's session data (server-side) and restored when re-visiting the website (accessed through a session cookie).
example/init.js
example/checklist.js
<!DOCTYPE YNET>
$s.module.init()
{
Remarks: While in $ui.onCheck() it's necessary to lock the switch explicitly, no such statement can be found in $ui.cmdAdd(), but return false instead. The reason is that Ynet handles change element (such as the custom switch) differently than click elements (such as buttons) which get automatically locked for a short time on clicking (to prevent accidental double-clicks).
Example: WebGL voxel renderer
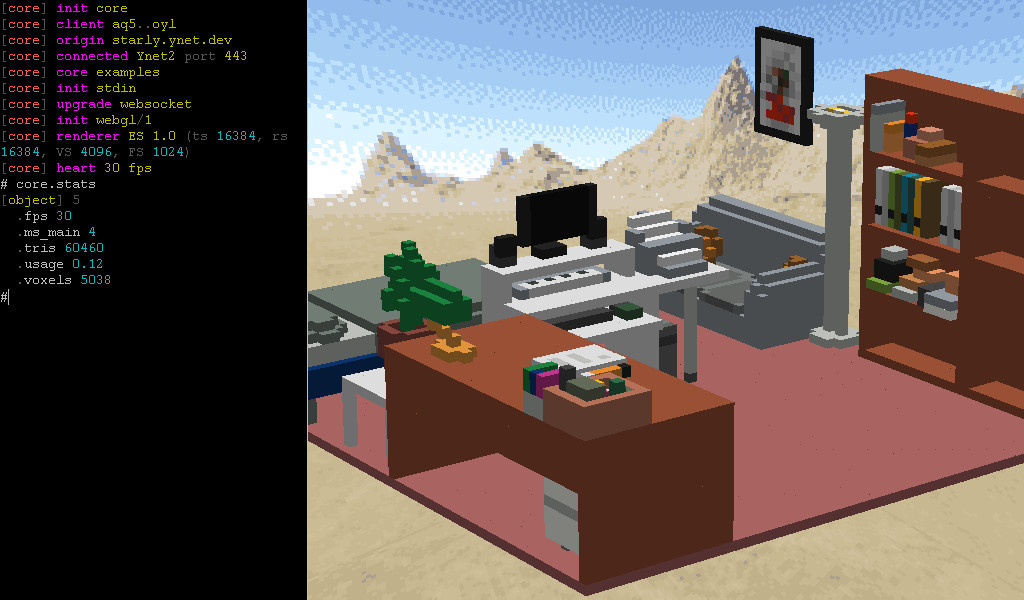
The following code is a complete example that loads a voxel graphic (room) and presents it in front of a skybox (the camera orbits slowly around). The renderer is configured to use WebGL 1 but could easily use WebGL 2 (by changing init.js accordingly) without any difference.
example/init.js
example/demo_room.js
<!DOCTYPE YNET>
$s.module.init()
{
Example: Class inherit / plugin
This academic example shows all 3 class extension methods: extension, plugin and inheritation.
<!DOCTYPE YNET>
Download
Not (yet) available to the public, sorry. This is a private project.
Origins
Ynet is the HTML5-based successor of the YDK framework, which was created around 2005 as a Visual Basic 6.0 convenience API. Large parts of the original YDK were DirectX wrappers, so one could easily render graphics (shapes, 2D images and later even 3D models), play sounds (variing pitch and volume), setup music (fading and looping automatically), handle input devices (including rumble effects) and many things more (networking, path finding, data encryption, scripting, etc.).
Unfortunately Microsoft decided to discontinue the DirectX extension for VB6 (the last version was DirectX 8.1) and even VB6 itself, in order to push their dotNet framework. After some roaming through the realms of early HTML5 (before WebGL was available), Java and even Flash, the final decision was to use HTML5 and a node.js server respectively. The Ynet.dev project was launched by the summer of 2020, and it has brought us to where we are today.
The lesson of this journey is to stick with standards rather than companies.
Although I am very disappointed to see WebGL being discontinued in favour of the upcoming WebGPU API. I was strongly hoping to see geometry shaders in WebGL one day...